Here I’d like to introduce two ways to add and verify your website with google webmaster tool.
- Verify a WordPress website by using All in One SEO plugin
- Verify other website by uploading HTML verification file
Using All in one SEO plugin – the easiest way
Step 1 Submit your website URL to google
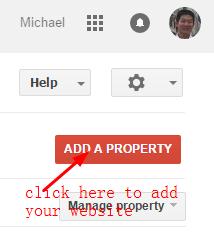
Create a free google webmaster account and find “ADD A PROPERTY” menu at the top right corner of your google webmaster tools homepage:
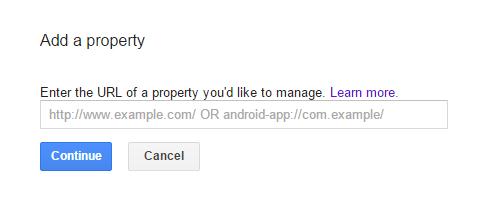
Click it and a window will pop up and enter your website url. The example of a website is: http://www.yourwebsite.com/ (This is a url what you should use). See google explanation
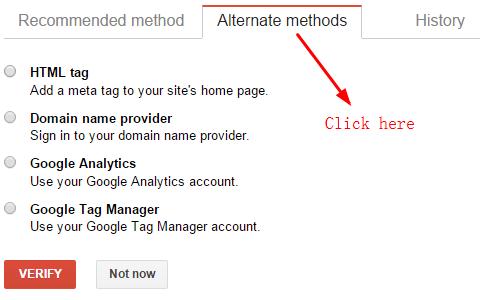
Step 2 Choose Alternate methods: HTML tag
Type into your url and click “continue” button. Then you will be lead to the verify page. See below:
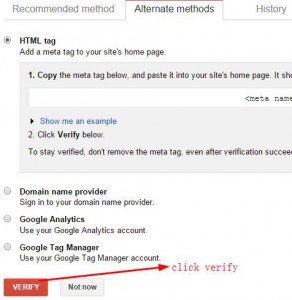
Select the “HTML tag” button and copy this html tag code ( don’t copy the quotation marks)
Step 3 Install All in One Seo plugin
All in one SEO plugin is a free and powerful seo tools.
Log into your WordPress website account and click “plugin” button to add All in one SEO. Or you can download it and manually install it to your WordPress site later.
In “General Settings” of the plugin, you will find the “webmaster verification” part and paste the HTML code here:
See below:

At the end of this page, click update options button to save.
Step 4 Verify your website
After completing above works, now back to your verify page on google webmaster tools and click the “Verify” button to complete.
That’s OK!
Verify your website by uploading HTML verification file
This is fit for all kinds of websites: WordPress website or non.
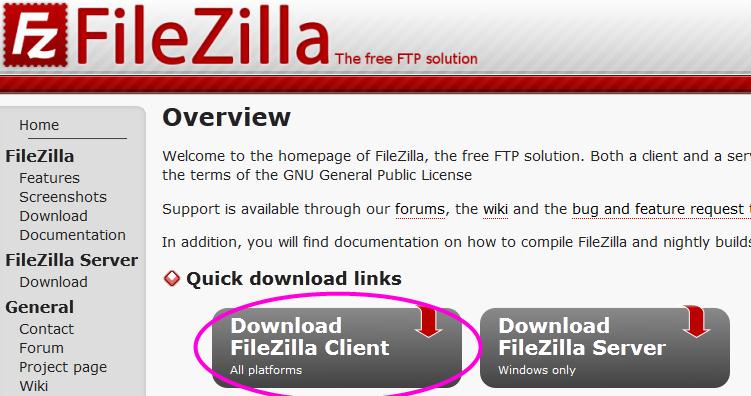
Using File Zilla -Ftp tool – to upload HTML verification file to your root directory of your website domain. File Zilla is a popular FTP tool and it is fully free.
Step 1 Same as above
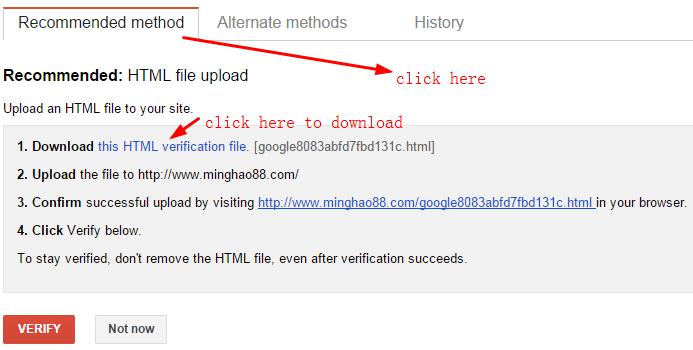
Step 2 download google Html_verification file
Choosing “recommended methods” and download the google HTML verification file on your PC.
Step 3 upload Html verification file
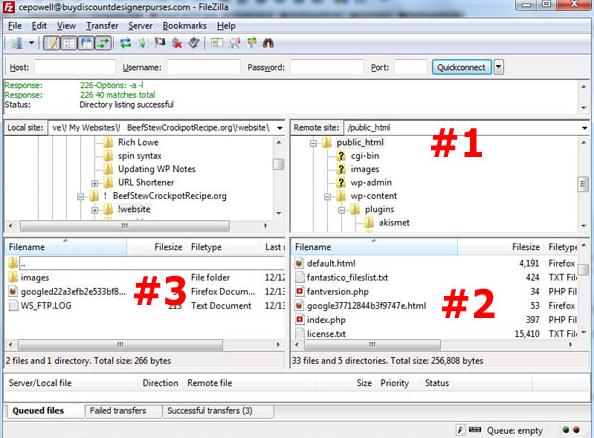
Open file zilla client FTP tool ( linked to your website successfully) and choose the google verification file.
upload this file to your website “public_html”. ( must be under this root directory)
Step 4 Verify your website
Back to your google webmaster account to click the verify button. That’s OK.
Confirm successful upload by visiting http://www.yourwebsite.com/google*******.html in your browser.
Finally,click verify button to complete.
Welcome to leave your comments below!
Michael


